Showing posts with label Lifestyle. Show all posts
Images

Vanilla Cupcakes with Caramel Drizzle


Cupcakes are probably the things I make the most, and yet for some reason I had absolutely zero pictures of any cakes. Not only that, as much as cupcakes are renowned for being pretty or cute, these were the hardest shots for me to take out of pretty much everything I have done.


For some reason I just couldn’t take a picture that showed how delicious these looked in real life. I had ok lighting but the pictures still felt ‘cold’ for some reason. It wasn’t until I ate one (that’s the empty red wrapper at the front of the shot) that things started coming together.

I think there are a couple of reasons for this:
  1. I was probably hungry. It’s as simple as that. I think cupcakes are to me as spinach is to Popeye. They make the magic happen!
  2. I was probably trying to make the shot too perfect. I think sometimes there is a tendency to try and take some ‘magazine style shot’ and it’s easy to forget about the actual food you’re photographing. If it happens to naturally come out looking picture perfect, great, but sometimes less is more. That caramel was actually supposed to be a perfect swirl that mirrored the curve of the buttercream. That would have, undoubtedly, showcased my talent, but would it have as tasty as that picture right there? I think not!
Now the recipe is one that I've used for years and I honestly can't remember where I got it from. I do think it's quite common though as I've seen very similar recipes in various places all over the web. It's great for add-ins and as a standard Vanilla cake recipe it's light, moist and flavoursome.

The recipe is:

1/2 cup of Butter
1 cup of Sugar
2 Eggs
1 & 1/2 cups of Plain Flour
1/2 cup of Milk (I use Almond Milk as it's what I drink most, so usually have plenty in the house)
1 & 3/4 teaspoons Baking Powder (NOT BICARB!)
3 teaspoons Vanilla

First Place your butter in the mixing bowl along with your sugar


You would usually mix after that step,, I didn't as I was losing light and needed to move quick if I wanted to mix, bake, ice and photograph them in time.

Next (once you've mixed!) add the eggs


Flour...


Milk...


And finally (because you forgot to take a picture of the vanilla), the baking powder


Then just mix. Once I'd realised I'd forgotten I added the vanilla, though I've done these as chocolate chip, crushed Oreo and lemon in the past. They were all amazing, this cake is a great base.

Divide the mix between your cupcake cases


Make sure to only fill the cases 1/2 to 2/3 full as they WILL overflow otherwise. Also, this mix will make 12 cupcakes if you use margarine but, strangely, 11 if you use butter. Seriously, I've made these numerous times and every time the number differs depending on what I've baked with.

Anyway, place these on the middle shelf of your preheated oven at around 240. They take around 20 minutes and, as with all cakes, will be done when a cocktail stick or knife inserted comes out clean.


I used my standard Vanilla Buttercream on half of these and added Cocoa Powder and a little melted dark chocolate to it to ice the rest.

Vanilla Buttercream:

250g Butter at room temperature
Icing Sugar
Milk
Vanilla

If the butter is too hard it's best to microwave it for a couple of seconds. The softer it is the more icing it will yield. How much Icing sugar you add will then depend on how soft the butter is and how firm you want the icing to be. Clearly to use this on cupcakes you'll need it to be firmer so just keep adding a little sugar at a time until it's right. Add 1-2 tablespoons of milk but be careful as they may split your icing.

Then divide the mix in half and add cocoa powder, melted choc and more milk until its the consistency you want/need. Then Ice!

I couldn't be bothered cleaning the bag/using a new bag in between flavours which is why my icing is striped. It looks and tastes awesome though, so here's to laziness! I then covered the cupcakes on a homemade caramel sauce which, while not perfect, does make the cakes look amazing. It's a simple recipe but I'm using a lot lately so I'll try and post the recipe soon. In the meantime...

Little Beauties...


Images

Vegetable Dumplings

These are not unshaped gnocchi. Gnocchi contain eggs and cheese and these contain none. I had some root vegetables that I needed to use up before I went shopping so I thought I'd give these a go. They were actually very nice and I could really taste the butternut squash in them, as opposed to them being too doughy. The ext time I make them I may add cheese to the actual dumplings as they were quite nice having the cheese with them.

This made a lot of mix so I tried out a few different recipes with what I had left. I'll post them at some point too as they were really nice.

For the dumpling I used:

1 Medium Butternut squash
2 Medium Sweet Potatoes
1 Small White Potato
Honey
Butter
Single Cream
Salt
Pepper
Self Raising Flour

Start by roasting the vegetables. These could also be boiled but it would be much harder to peel the butternut squash and I find they tend to be more watery when boiled. Butternut squash has a very thick skin, making them extremely difficult to peel. You'll know they are done roasting when a fork is able to pierce the skin with little to no effort.


 Once done the skin becomes very thin making it possible to just peel off.


Scoop all of the contents from their skins and place in a bowl, obviously remembering to discard the seeds and the skins!


To this you then need to add 1 and a half teaspoons of honey


Followed by salt and pepper and a tablespoon of butter.


Mash this all up and mix together until it's mostly smooth. Then add the cream. I actually added this in two stages just too make sure the mixture wasn't too runny.


Finally, add the flour, a little at a time. You don't want them to be to firm/chewy and the mix should be just rollable. Stop adding flour as soon as the stickiness is gone.


Once the dough reaches the above stage, start rolling. I wasn't to worried about the shape so I just pinched off pieces of dough and rolled them roughly into balls with my hands.


I then dropped the balls into a pan of water with a little salt, pepper and stock. I cooked them for around 10 minutes then removed them from the pan and added them to a frying pan with a small amount of oil. This was just because I wanted a small amount of crunch to them, and I didn't fry them or long at all.


I served them with some thinly sliced cheese and nothing else. I may make a sauce for them the next time I make them as I plan on adding the cheese into the dumplings. This time, though, they were delicious with just the sliced cheese on top. I will try and post the rest of the dumpling recipes this week. I have a lot of other recipes I need to post though so It may be next week.


Images

Giant Mini Eggs (Oxymorons!)


This took a while but was worth it. I've seen slightly different versions that are much quicker, but I like to make things difficult for myself. Instead of a solid block of chocolate I decide I wanted a solid chocolate 'shell' with a truffle centre. Now, none of this was particularly difficult. It was all just very fiddly and time consuming. I think it was definitely worth it, but be prepared to spend some time on this.

I started with the humble egg.


Most of the pictures I'd seen had massive holes or cracks in the egg to get the chocolate in, I didn't want this so decided I would give egg blowing a try. It worked pretty well by all accounts. A pin prick sized hole at one end and a slightly larger hole at the other end.


The thought of getting raw egg in my mouth lead me to seek out alternative methods off separating egg from shell. They didn't work. Somebody had told me about a way o separating yolk and white with a bottle and I wondered if this would work with getting the egg out. It started to draw some out but the bottle collapsed long before the first egg was done.


So it was back to the drawing board. I simply used a knife with a very sharp point and just kept tapping gently in the same spot until the right sized hole was made.


I wasn't always as gentle as I should have been and a few of these did crack. I kept them though as I figured you do occasionally get a few cracked sweets in a pack.


Once all holes are made you simply need to blow through the smaller hole. If this proves tricky you can either make the larger, bottom hole larger or simply make sure its clear. There is a layer of membrane inside the egg and this is stronger than it looks. It can and does stop anything from getting through regardless of how hard you blow. I did 20 eggs so I had a lot of egg going spare. I used this up making brioche though which I'll show in a later post.


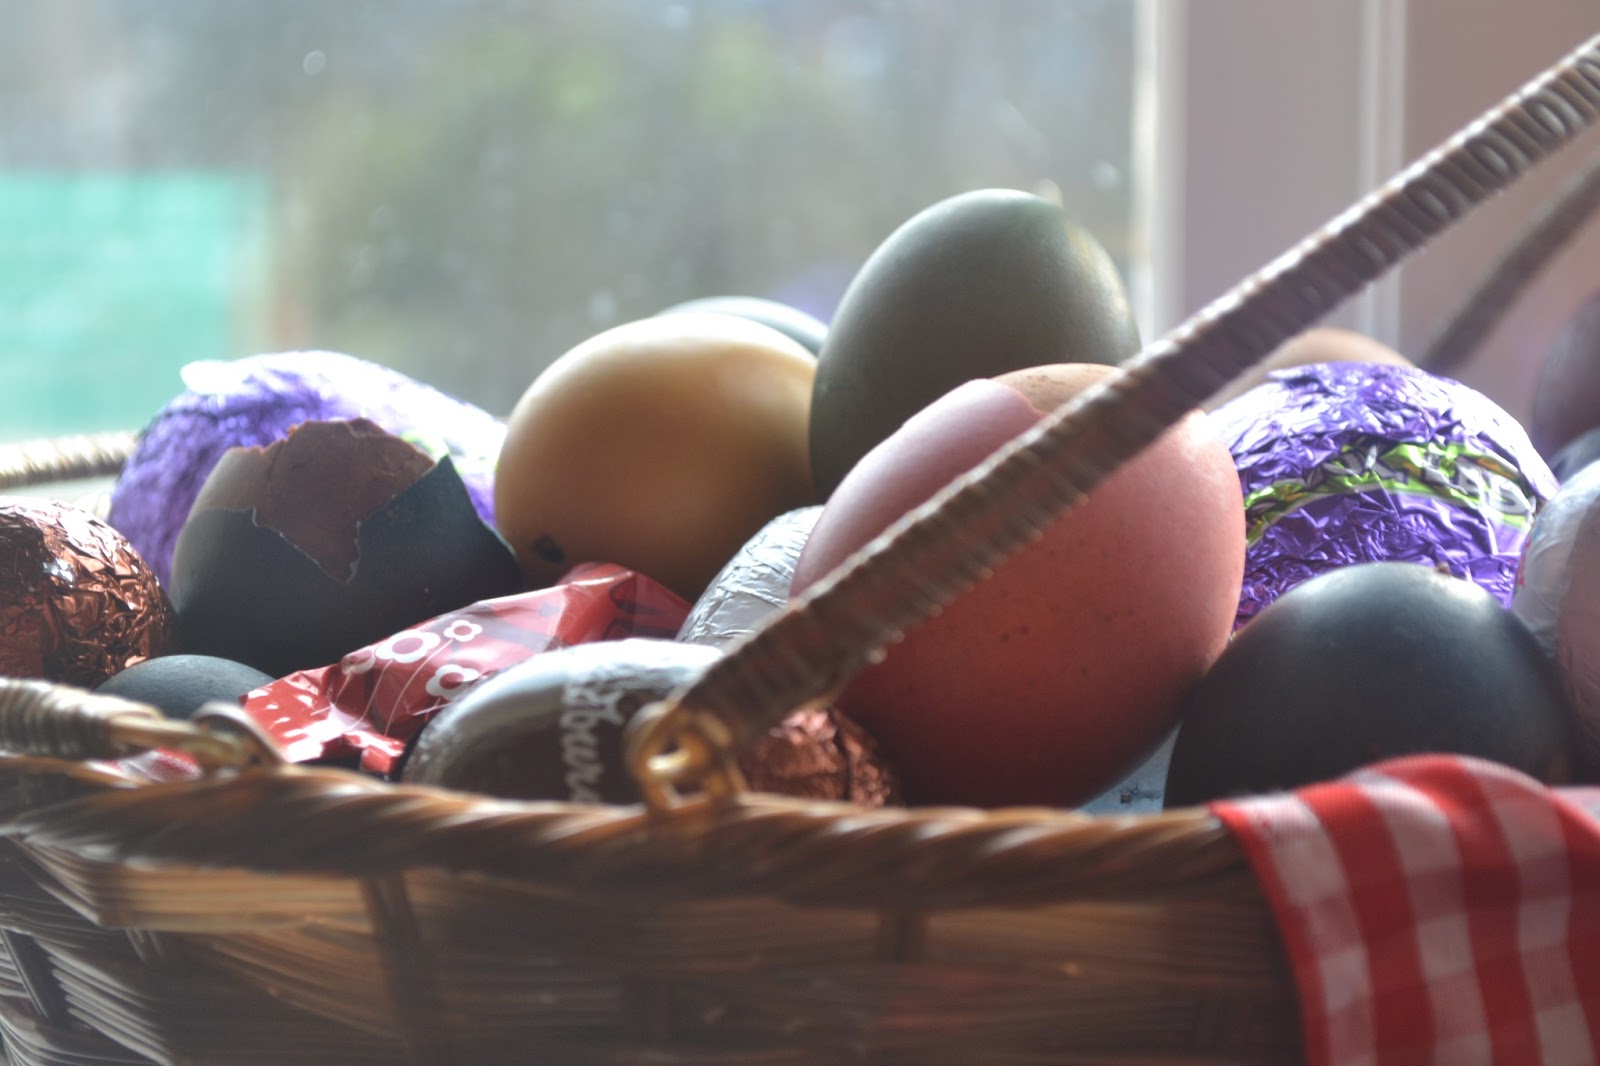
 It was the time to clean the eggs. Since I didn't crack the tops off I couldn't see inside so couldn't be sure I had gotten all of the egg out of the shell. I didn't want to crack my shells open and find they were covered in egg so I figured the best way to get it all out was to boil the shells. The eggs will float to start with so a bowl placed on top of them will stop this happening. I also toyed with adding the colour at this stage but the volume o water warranted too much vinegar to make the colour stick so the rest were coloured after being boiled.


I boiled the eggs for around 15 minutes to be sure. I the removed them from the pan and placed them in cold water. Once all the water was drained I used two methods. I either shook the eggs to break up any loose bits inside after running the tap into the bigger hole at the bottom, or I filled them through the bigger hole and then blew through the smaller hole as I had to get the uncooked egg out. boiled egg is surprisingly pliable and  what was let inside did actually come out through the hole at the bottom. Then I placed them in another bowl of water with a few tablespoons of vinegar and whichever colour I was using.


I then drained them again and placed on paper towel and in egg cups to dry. I repeated these steps for each colour used.


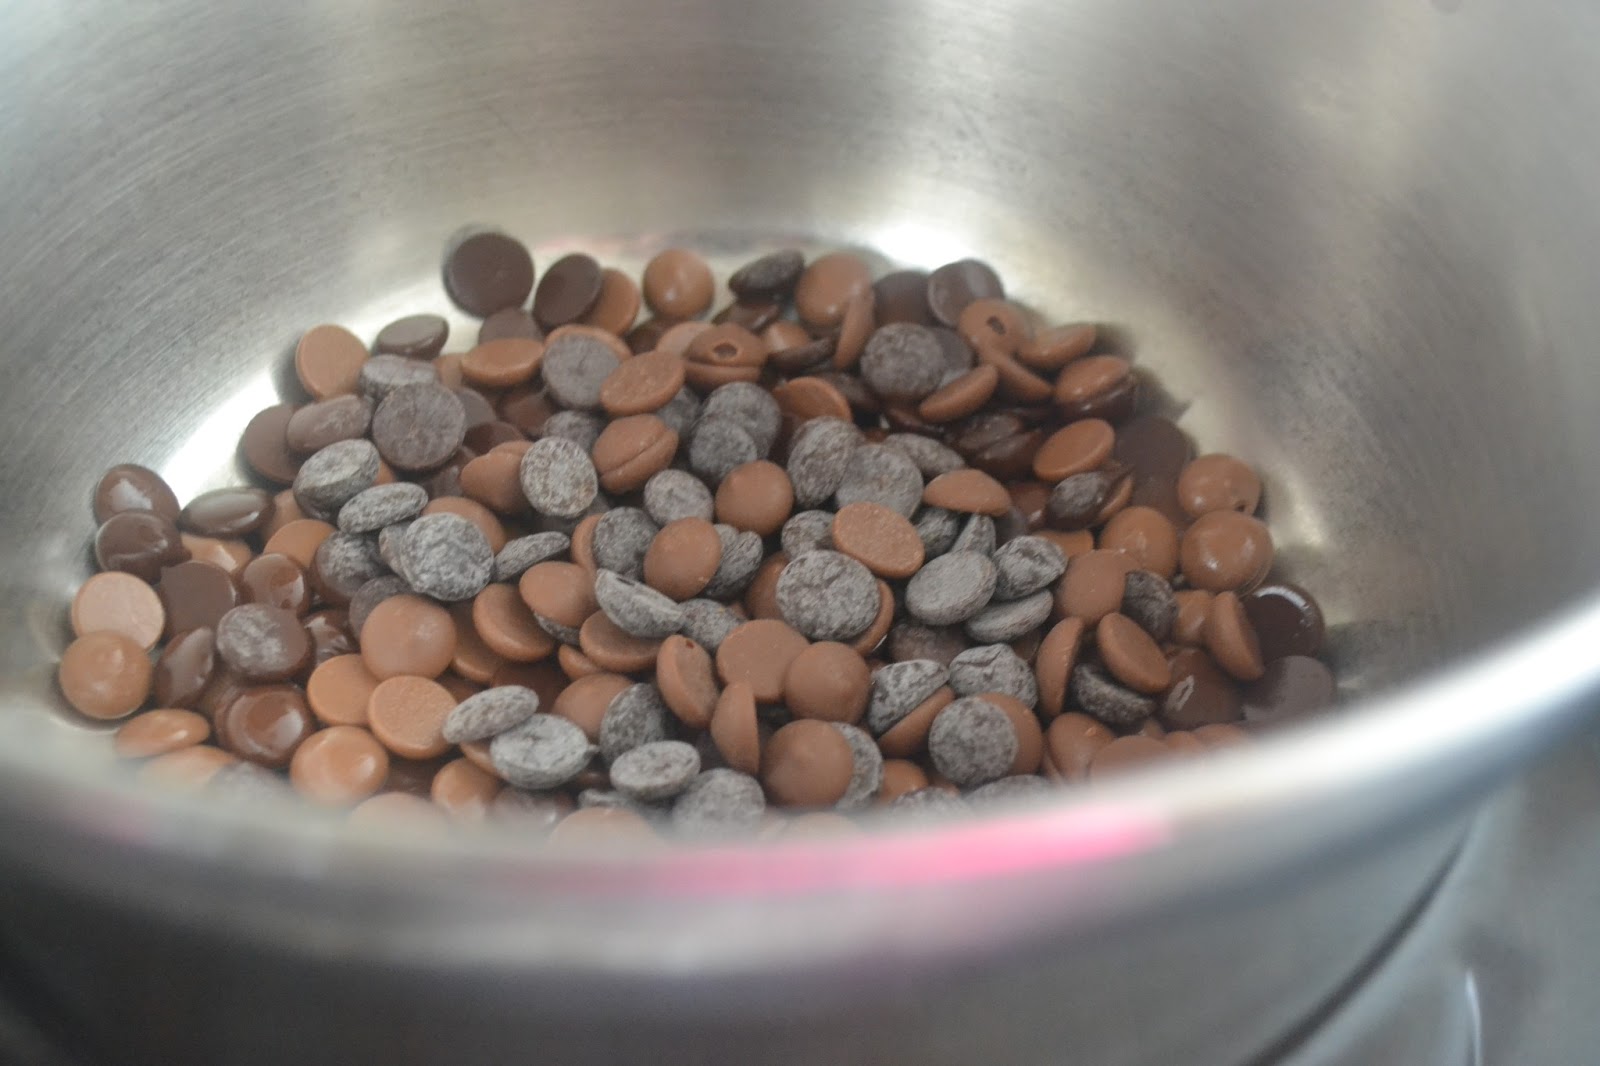
I left these to dry overnight to make sure there was no loose colour that would stain the chocolate. Once dry I started to melt my chocolate for the shell and then filled the eggs using a syringe. This was the pretty easy but very time consuming!


I did this twice on each egg and then placed them in the fridge over night to set. The next morning I removed them and repeated the process, again shaking the egg to try and make sure all the surface was covered. On the first night I stored them with the small hole facing down and the second time the large hole was facing down to try and ensure even coverage.

While the second coat was setting (around half an hour) I started making the truffle. For the white chocolate I started by making a caramel. This was just sugar and, a small amount of water and, once it had dissolved, vanilla and cream. I placed it in an old empty container then made the rest of the truffle mix.


Since I had placed the eggs with the larger hole down it was blocked so I used a heated pin to clear the hole then filled them with truffle (which I had placed in the fridge to cool down and firm up slightly. This was done randomly instead of in layers. The eggs were then placed in the fridge overnight to set.


I think they came out pretty great and, with a bit more organisation next year, I could probably get this all done in one day. I think they look amazing and, even better still, they taste amazing. The outer 'shell' of chocolate has a nice bite to it and contrasts well with the truffle in the middle. I may make it slightly thicker next time though. Other than that, amazing! The sort of thing you'd definitely want to hide from predators...