Showing posts with label Savoury. Show all posts
Images

Brioche

Just a quick recipe here. I can't really tolerate bread. I love it but, it makes me seriously ill. That doesn't stop me eating it though. I have owned a bread machine for around three years and in that time I have probably made...5 loves of bread. Ridiculous! I decided I wanted to start using the things I actually have but, being me, I didn't want to make your bog standard loaf. I do enjoy a plain white loaf but I always seem to need to change things!

I have wanted to make Brioche for a the longest time and since I knew I'd have lots of bread left once I'd made it I decided to come up with some recipes to use up the leftovers. In the coming weeks there will be 5-7 brioche inspired and themed recipes. But, of course, none of them would be possible without the main ingredient. I had no clue whatsoever how to make a loaf of brioche so I didn't even attempt to make a recipe up. Instead I searched online and found this. It worked perfectly and I will be making it again soon with some possible add ins. The recipe is below along with step by step instructions and pictures.

For once I didn't make any changes. So...on with the recipe!

1 3/4 teaspoons yeast
1 3/4 cups bread flour
2 tablespoons bread flour
3 tablespoons sugar
3/4 teaspoon salt
2 whole eggs
1 egg yolk
1/4 cup water
2 tablespoons water
8 tablespoons butter

First add the yeast, sugar and water. I used warm water and let this covered for around 10 minutes until it started to foam. I would usually add this straight into the bowl of my bread machine but it's too dark for pictures.


After 10-15 minutes the mix will look like this


Add the rest of the ingredients (excluding butter)


Then tip the ingredients (excluding butter) into your bread machine and cook on the required setting.

Now the directions say you should add the butter during the last 10 minutes of the first kneading cycle. I had no idea when this was! My machine doesn't tell me how long is left on each kneading cycle so I managed to miss it. Instead I added the butter during the first 10 minutes of the second cycle. This worked out just fine and it was all kneaded in by the time the cycle was done.

Then I waited while it cooked. Once it was done, it was amazing. I managed to be patient for a change and left the bread in the machine for the sides to firm as recommended. Once cooled, the texture was perfect.


As a quick side note, the second time I made this I missed the end of the first cycle again. I started adding the butter to the second cycle but I added it too quickly and, well, it wasn't pretty! It formed a ball of dough in the centre of the machine, as it should, but the outside turned into a sticky mess. I baked it anyway as I could't be bothered wasting the mix and wanted to see what would happen. It actually baked fine in the middle but the outside was much too crumbly and dense. Be warned, when it says take your time adding the butter, take your time.

I managed to use it anyway and I'll post that recipe soon, along with all the others.
Images

Vegetable Dumplings

These are not unshaped gnocchi. Gnocchi contain eggs and cheese and these contain none. I had some root vegetables that I needed to use up before I went shopping so I thought I'd give these a go. They were actually very nice and I could really taste the butternut squash in them, as opposed to them being too doughy. The ext time I make them I may add cheese to the actual dumplings as they were quite nice having the cheese with them.

This made a lot of mix so I tried out a few different recipes with what I had left. I'll post them at some point too as they were really nice.

For the dumpling I used:

1 Medium Butternut squash
2 Medium Sweet Potatoes
1 Small White Potato
Honey
Butter
Single Cream
Salt
Pepper
Self Raising Flour

Start by roasting the vegetables. These could also be boiled but it would be much harder to peel the butternut squash and I find they tend to be more watery when boiled. Butternut squash has a very thick skin, making them extremely difficult to peel. You'll know they are done roasting when a fork is able to pierce the skin with little to no effort.


 Once done the skin becomes very thin making it possible to just peel off.


Scoop all of the contents from their skins and place in a bowl, obviously remembering to discard the seeds and the skins!


To this you then need to add 1 and a half teaspoons of honey


Followed by salt and pepper and a tablespoon of butter.


Mash this all up and mix together until it's mostly smooth. Then add the cream. I actually added this in two stages just too make sure the mixture wasn't too runny.


Finally, add the flour, a little at a time. You don't want them to be to firm/chewy and the mix should be just rollable. Stop adding flour as soon as the stickiness is gone.


Once the dough reaches the above stage, start rolling. I wasn't to worried about the shape so I just pinched off pieces of dough and rolled them roughly into balls with my hands.


I then dropped the balls into a pan of water with a little salt, pepper and stock. I cooked them for around 10 minutes then removed them from the pan and added them to a frying pan with a small amount of oil. This was just because I wanted a small amount of crunch to them, and I didn't fry them or long at all.


I served them with some thinly sliced cheese and nothing else. I may make a sauce for them the next time I make them as I plan on adding the cheese into the dumplings. This time, though, they were delicious with just the sliced cheese on top. I will try and post the rest of the dumpling recipes this week. I have a lot of other recipes I need to post though so It may be next week.


Images

Salmon and Pasta Bake


A very quick recipe from a very long day of baking and cooking. I made two of these along with 24 cupcakes, a triple layer chocolate caramel cake and a loaf of cider and cheese bread. I was very tired by the end which is why I didn't post anything about them but I'll have it all up within the next couple of days.

Without further ado, the recipe:

1 Small Packet Macaroni
4 Medium frozen Salmon Fillets
2 Tablespoons Butter
Plain Flour
4 Cups Cheese, Grated plus more for the top
3 Cups Milk
Salt
Pepper
Frozen Peas
Frozen Broccoli
1 Can of Sweetcorn
Dijon Mustard
2 Cloves Garlic
1/2 Red Onion

Pour the entire packet of Macaroni into a pan and cover with water


Add a splash of oil (to help keep the pasta from sticking) and salt and pepper. Place the pan on the boil and get on with crushing the garlic. I added 2 cloves as I wanted quite a strong Garlic taste. Crush this and then chop finely along with your half a red onion. Set aside until later and get on with grating your cheese. I used a mix of Extra Mature and Mild, because that's what I had.


Next add the salmon to a large pan. I didn't remove my Salmon from the plastic and I usually never do. If you want to wash yours, crack on.


Whilst the salmon and pasta are cooking start making the cheese sauce. Add 2 tablespoons of butter to a pan with the chopped garlic and onion.


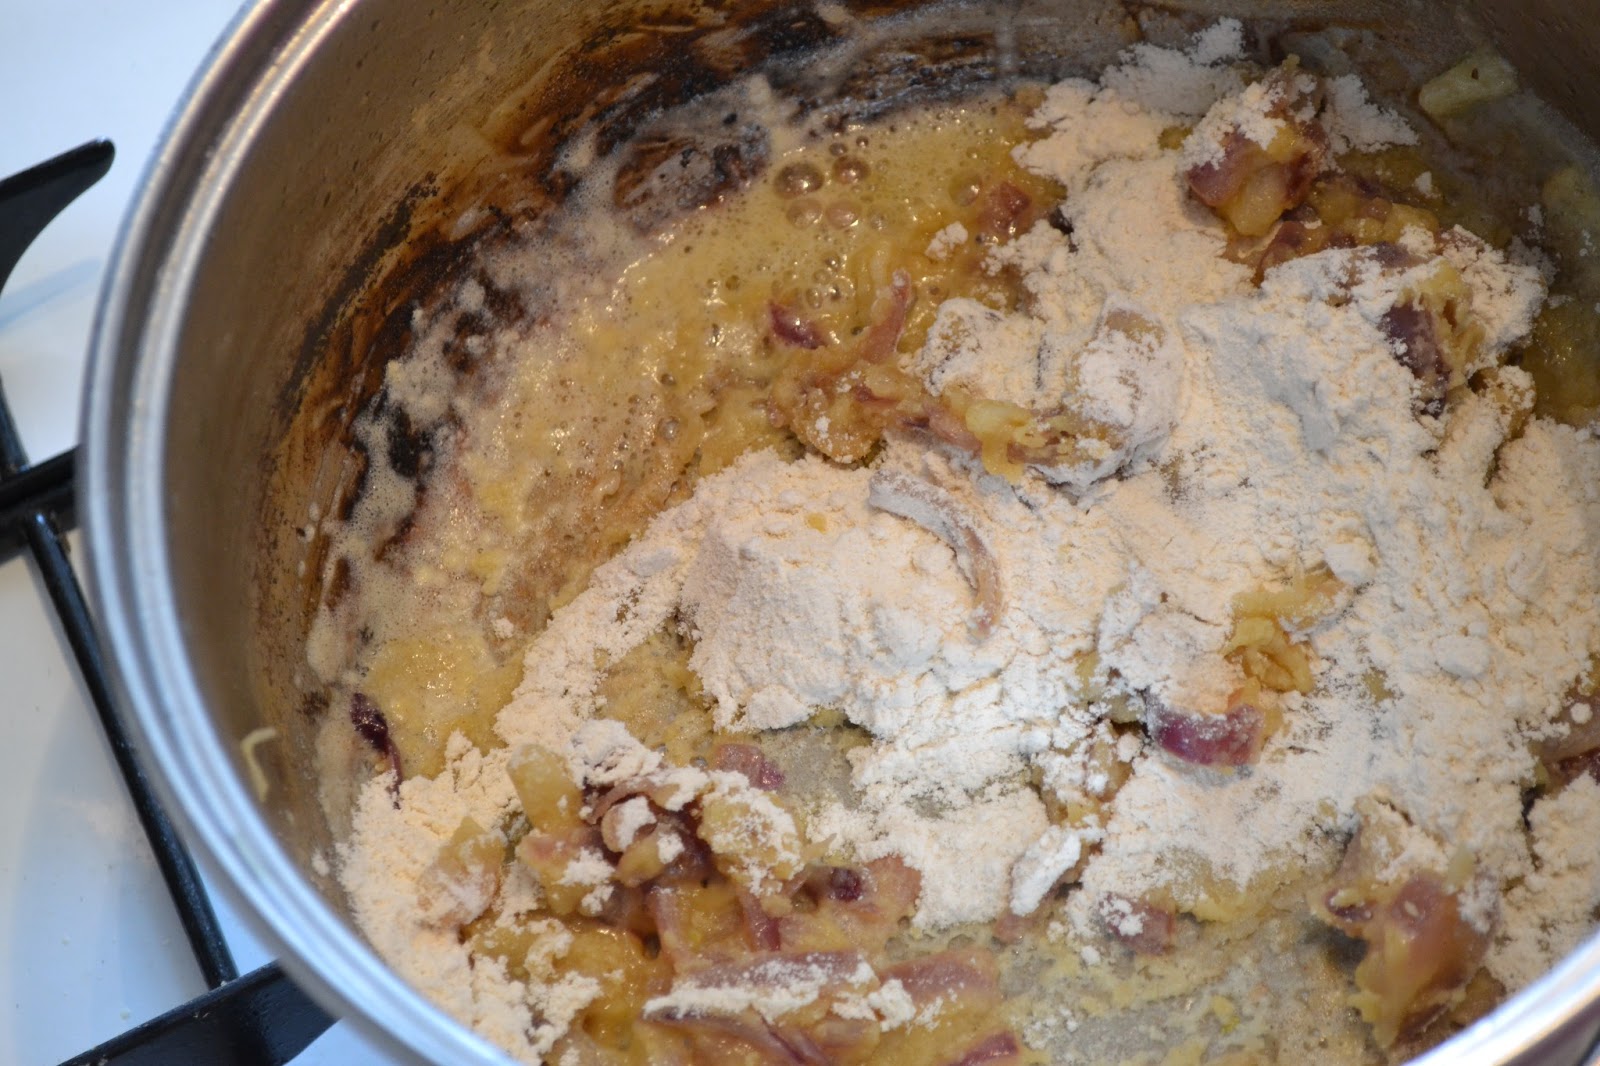
Once all the butter is melted and the onions have begun to soften, add 2 to 3 tablespoons of plain flour.
Now to some people making a roux, white sauce or cheese sauce may be an exact science. To me it's about feel. My mum taught both my brother and I to make this from a very young age and she never used scales or measurements. The way I make the sauce is basically 'saving' it. You're constantly bringing it back from forming one large lump! You want to add enough flour so that the butter forms a type of 'paste'. At this point quickly add around 1/2 to one cup of cheese. Now before the sauce burns or forms a massive lump which sticks to the spoon, add milk. Not too much though, just enough to 'melt/dissolve' the lump you have just created. As it starts to dissolve and thin add slightly more milk, then more cheese, then, when it starts to thicken, more milk again. Keep going like this until you have the desired consistency and taste.


Once you get a feel for making this sauce you'll be able to get it nice and smooth (apart from the lumps of garlic and onion obviously!). It just takes patience and constant attention. It's worth it though in my opinion. I used approximately 4 cups of grated cheese, 3-6 tablespoons of flour and around half a carton of milk. It all depends on taste though and desired final thickness of your sauce. Once it's done cooking remove from the heat and add salt and pepper to taste. I also added 1 & 1/2 teaspoons of Dijon mustard.


At this stage the macaroni and salmon should be done cooking. Remove them both from the heat and drain the water.


Remove the salmon from the packets. It should still be quite firm and not just falling apart. rinse it thoroughly and then flake it back into the pan in medium sized chunks.


Followed by the drained macaroni, frozen peas, frozen broccoli, sweetcorn an, finally, cheese sauce.


Gently mix this all up so as to not break up the salmon too much.


I prefer to have large chunks rather than lots of tiny little pieces.


This could be added to one large dish but I didn't have mine so I split the mix between two disposable metal containers. I added cheese to the top of one and put the other one 'as is'.


The salmon and macaroni are cooked so you are basically just waiting for them to brown and letting the vegetables cook. This took around 20-30 minutes in my oven at 240. Once done either eat straight away or leave to cool in the fridge overnight, cut into slabs and freeze in individual portions.